Showing posts with label shabby chic. Show all posts

Thursday, November 15, 2012

Basement Reno - It is coming together!!!

From the beginning to now...here is a small idea of how far we've come...

And we thought clearing out the space was hard!


This basement renovation has really been an interesting learning experience for me. And don't get me wrong.  When I say interesting...I don't mean awe-inspiring, I mean equal parts AWFUL and INSPIRING.  There is something so incredibly inspirational in having a vision and then getting to watch it grow into something day by day.  And actually seeing the progress is really necessary and makes it all the more special to me.  I mean, when you hand over a 100 year old crappy basement, it is beyond impressive to see what can be done with a boat load of elbow grease and patience.

I guess that is why when I have a really hard reno day like today, and I am forced to stand witness to our contractor plow down a small portion of my neighbors' fence, I have to remind myself that this is all worth it.  It takes WORK and lots of it.  It is not going to just appear finished one day. There will be hiccups and blemishes in the process but I know it is a process.  It will be completed soon, though and I am confident that the finished product will be all 'us'.  

xoxo
L

Sunday, April 22, 2012

Home Grown - Dining Room Hutch Makeover

HOLY SMOKES! I officially know I'm an adult now because of how flipping proud I am of this project.  I love it. LOVE it. I may marry it.

So, we decided to paint ourselves a hutch.  A dining room hutch.  We have no experience with such things, but we also have no experience in restraint, so we went for it.
It was an old handmade piece that a friend of my Mom's gave to her years ago.  My Mom kept it in her basement, in pieces, so we decided to put it to use.  Also, there is a gaping hole/empty wall in our dining room that needs some covering.

Diving right in, we grabbed our little sanders and began to sand.  Every side, every shelf, every door, every...thing.

Then, we got to painting.  Martha Stewart Heavy Goose.  We had no clue where to start, so we just started everything. At once. 
Hardware - For this, I went to the seemingly massive spray paint selection at Home Depot.  They have about a million colors to choose from and they're all unbelievably boring aside from about 5 vibrant/cool ones.  I went with "Candy Apple"...which incidentally was a green, even though candy apple's are red.
After 2 coats of white on everything and newly greened hardware, we left the hutch to the garage and forgot about her for the past week.  Finally, it was Friday again and time to bring 'er in.  We thought working on touch ups from inside should be fine and not too hazardous.  We were sorta right.
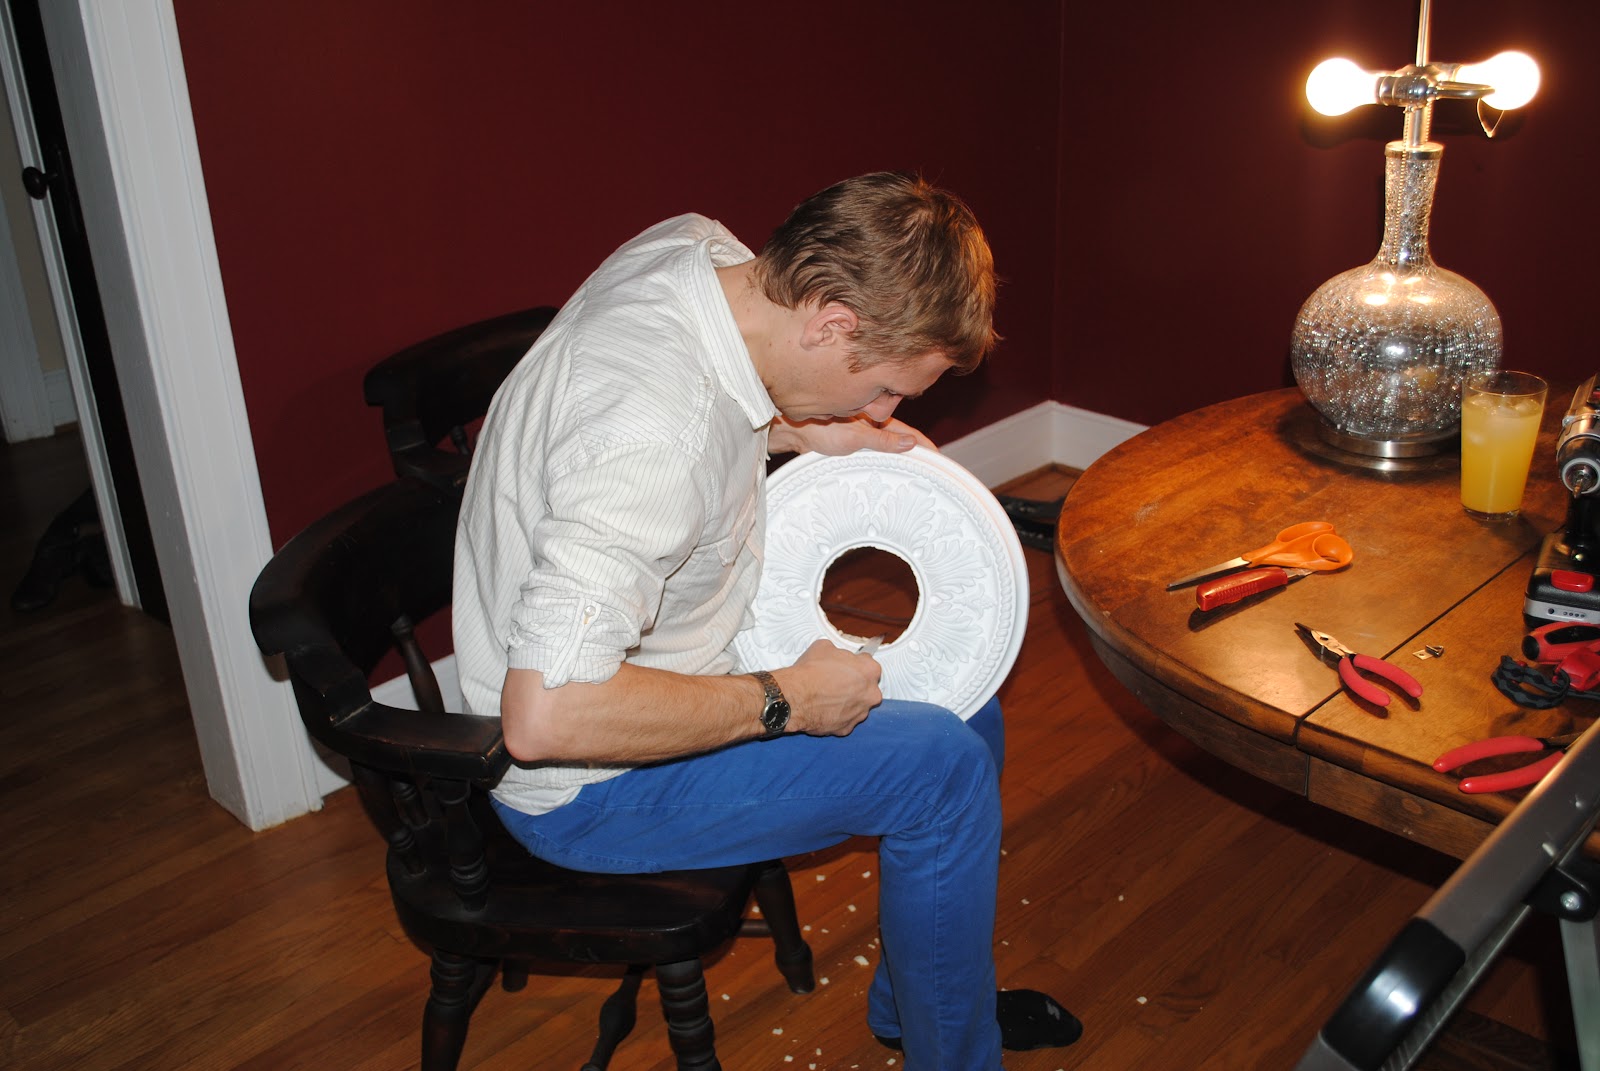
One more coat of touch ups...
Then, it was time for...(wait for it)...ASSEMBLY!!!  Wooooooo!
Dog sitting and hutch assembling go very well together.
My stick-arms got a pretty good workout.


Of course, there were still a few paint fixes to be had.
But once that was done, we were finally, almost at the finish line.  We let it dry before drilling in our new little wine rack things from Bed Bath and Beyond ($9.99).
And then what do you know, VOILA...
We were done! Our dining room is complete!
Since the hutch was free, this whole project cost under a hundred bucks.  It was kind of a pain, especially since the doors didn't line up perfectly (please ignore the hair tie holding them shut for now) but it was completely worth it.  Our dining room feels so different/cozy/us/amazing.

Tuesday, March 27, 2012

Quick Fix: Tiny Bathroom Shelf

Does anyone else have a room that is completely different than the rest of their house? A room that "jumped the shark," if you will.

Well, I do.  And it's the smallest room ever. 

Basically, someone converted a small food pantry into a bathroom at some point in my house's long life and it's a space I find myself constantly wondering about.  How do I make this room bigger?  Appear bigger, at least?

Upon moving in, I had the magnificent idea of painting the farthest wall bright yellow to "open" the space up.  I'm not sure if it worked, but it definitely gave the room a different vibe from the rest of my shabby chic casa because after the wall painting came random circle mirrors, a new toilet and a small modern looking shelf thing from Target (not pictured). 

I thought I was all done.  What else is there to do in a 3x3 bathroom?!  Well, I found a small something and I love it. Powder blue shelf arms! Wooooooo!  I recommend this quick fix to anyone looking to spruce up a nasty wrought iron something-or-other.


Love it. Love it. Love it.  Next up...that sink. Eeee!

Thursday, January 12, 2012

HOME-GROWN: Fancy fancy Chandelier 3

 Jeff and I had the brilliant idea to change out all of our downstairs light fixtures this year.  Our house is almost a hundred years old and the lighting was probably last updated in the early 80's.  Making a change of this kind does wonders for an old home, but of course there is a downside...
 You never know what you're going to find.
Like...WHAT is THAT?!
Nonetheless...we trucked on, in a most improvisational kind of way.
Tested our electric...

Laughed in the face of our old, brassy fixture...
And made it to the finish line!
Ta da!  It's always worth the pain, isn't it?

Sunday, November 27, 2011

HOME-GROWN: Fancy fancy Chandelier 2

Since the lighting in our house is seriously busted, I've become quite determined to salvage, paint, and repurpose what I can.

First up...our old brass front door chandelier. 

Purchased:  White spray paint and rounder, quirkier light bulbs to replace the old drippy candle ones.

Time required: Overnight - to allow time for the paint to dry.

Must haves: Top Chef playing in the back ground, striped pajama pants, a tiny dog for quality checking purposes and a touch of patience.  It's just hard to wait when the end result looks so undeniably cool and the paint is still too wet to touch.


Framed.

I love books.  (Enough so, that I've written one - insert Diary Girl plug here)  So in an era ruled by Kindle's and Nook's, I figured what better way to pay homage to my favorite ones, than by framing some of the best pages!  Plus, it gives people something to do while they're waiting on me to get ready or inevitably searching every single room for my my purse before leaving the house - how do I always drop it in a different place each day?!

I started with a couple pages from The Giver...


HOME-GROWN: Fancy fancy Chandelier 1

This chandelier was a PAIN to put up in our nearly 100 year old house, but it was also well worth it due to the dazzling, copious amounts of shiny glass droplets.

Purchased from: Pottery Barn & Home Depot (ceiling medallion)

Time required: HOURS...and hours...and hours (they individually wrapped each glassy droplet!)

Must haves: Patience, actual tools, and wine. Lots of wine.